As a seasoned Siege player, I can tell you that Rainbow Six Siege X's Dual Front mode is a total game-changer, a real breath of fresh air that turns every round into a beautiful, controlled chaos. It's a mode where success isn't just about your aim or your favorite operator's gadget; it's about smart coordination, lightning-fast decisions, and a complete shift in mindset. It's like playing two matches of Siege at once, and honestly, it's an absolute blast. Let me break down for you what makes this mode tick and how you can not just survive, but thrive in its unique, high-octane environment.
So, what exactly is Dual Front? In a nutshell, it's a permanent 6v6 mode that throws the classic Attack vs. Defense setup out the window. Instead, each team is split, fighting on two simultaneous fronts. You've got one squad pushing on the attack lane, trying to breach the enemy's territory, while your other squad is holding the line on the defensive lane against the enemy's own assault. Connecting these two war zones is a massive neutral sector. The goal is simple yet incredibly complex: you must progress through the enemy’s territory by completing objectives while simultaneously protecting your own sector from being overrun. It's a constant, heart-pounding juggling act.
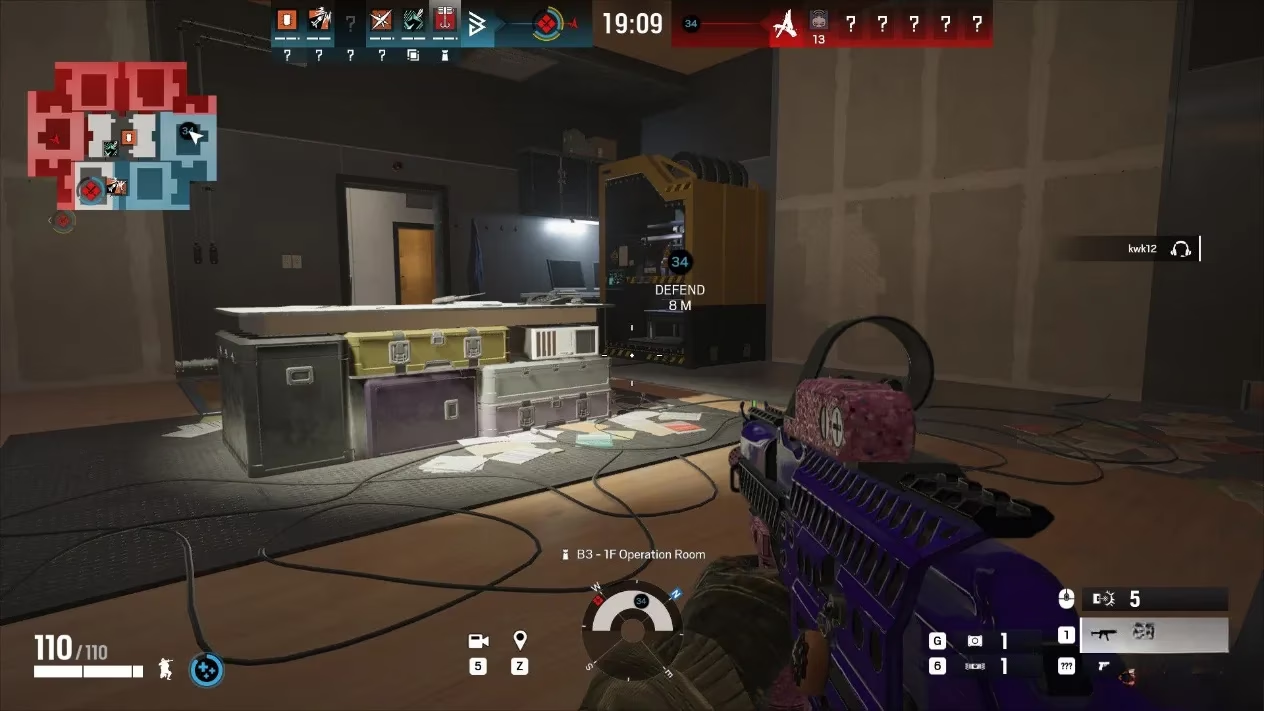
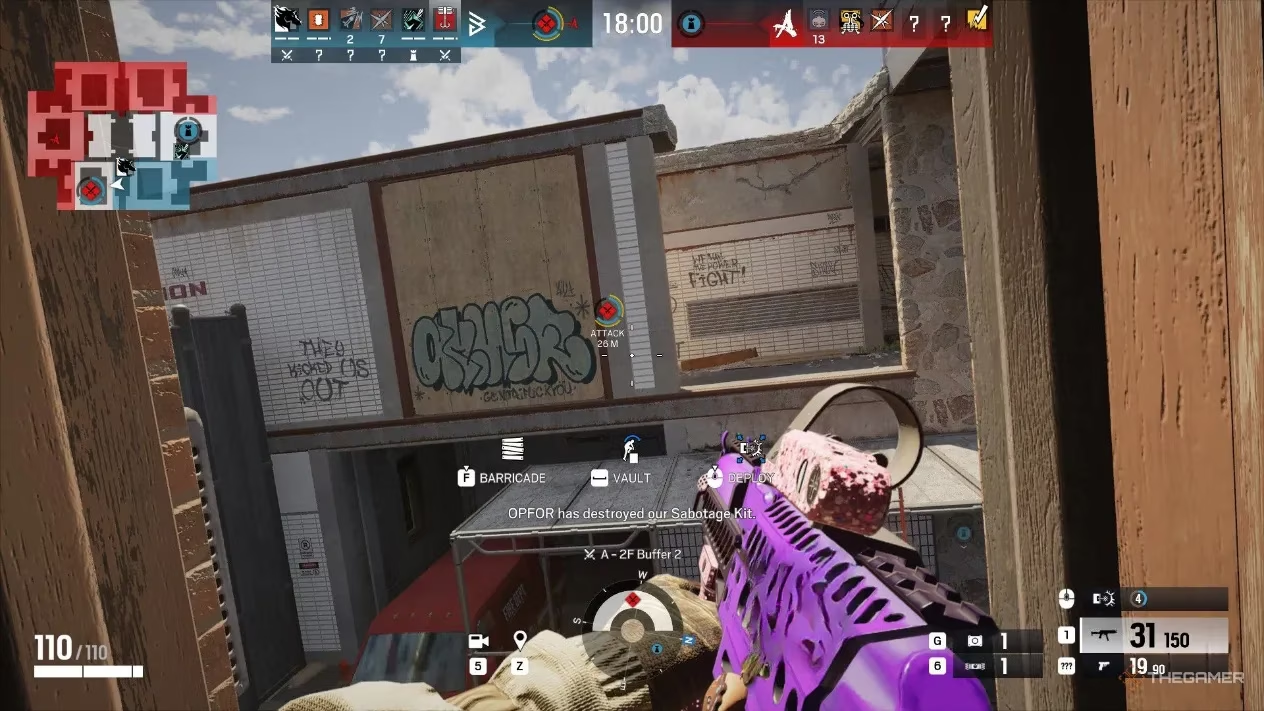
On the attack lane, your mission is to reach the enemy’s objective room, plant a Sabotage Kit, and defend it until it blows. Successfully sabotaging one sector unlocks the next, with the final target being the enemy's HQ. Blow that up, and victory is yours. But here's the kicker: while you're trying to do this, the other team is attempting the exact same thing in your defensive lane. It's a relentless, two-way street of pressure. The game gives you the tools to handle this chaos, though. We have unlimited respawns and the ability to switch operators after each death. You choose from a curated, rotating list of both Attackers and Defenders, which means team compositions can get wild and wonderfully unpredictable.
Now, let's talk about the neutral sector. This isn't just empty space; it's the strategic heart of the entire match. Think of it as a flexible combat zone and a superhighway rolled into one. You can use it to reposition quickly between lanes, flank opponents who are too focused on their own lane, or secure rotating side objectives. These side gigs, like hostage extractions, are a big deal. Completing them grants team-wide benefits, like temporary health boosts or faster plant/defuse times. Ignoring the neutral zone is a surefire way to get caught with your pants down.
Alright, so how do you actually win in this madhouse? From my hours in the trenches, I've learned it's all about adaptation and using the mode's mechanics to your advantage. You can't just play it like classic Siege; you gotta play it smart.
My Top Strategies for Dominating Dual Front 🎯
-
Master the Rotation Game: This is non-negotiable. You must actively move between the attack and defense lanes. Is the enemy pushing hard on your defense? Someone from attack needs to rotate back to help, stat. Did your attack just plant the Sabotage Kit? Maybe a defender swings over to help secure it. Static play is a death sentence.
-
Embrace the Operator Shuffle: With unlimited respawns, your operator choice isn't a lifetime commitment. Switch operators mid-match to counter the enemy. Are they spamming shields on attack? Time to grab a Nitro Cell operator on defense. Need more hard breach on attack? Go for it. Flexibility is king.
-
Break Role Conventions: This is where it gets fun. Use traditionally defensive operators for offense, and vice versa. A roaming Caveira can wreak havoc in the enemy's backlines during your attack phase. A Thatcher supporting a defensive hold can be a nightmare for the attacking team. Mix it up!
-
Own the Neutral Zone: Don't just pass through it; use it for flanks, ambushes, and lightning-fast repositioning. It's the best route for moving between lanes quickly. Control this area, and you control the flow of the entire match.
-
Prioritize Side Objectives: Those hostage rescues or intel grabs in the neutral zone? They're not optional. The temporary team-wide buffs they grant can turn the tide of a close round. Prioritize them when it's safe, but don't get caught with your guard down trying to complete one.
-
Active Defense is Key: You cannot just sit in a corner and wait. On defense, you must be refreshing traps, reinforcing weak points that get blown open, and aggressively responding to breaches. A passive defense will get steamrolled in this fast-paced mode.
-
Use the Environment: The maps are littered with interactive elements. See those red gas pipes? Shooting them creates explosive hazards that can wipe out an unsuspecting push or clear a fortified room. Learn these environmental kills; they're game-changers.
-
Listen Up!: Sound is more crucial than ever. You need to be listening for footsteps in the neutral zone, gunfire from the other lane, and the distinct sounds of breaches and plants. This audio intel lets you anticipate enemy movement and rotations before they happen.
Let me put it all together with a quick scenario from one of my recent matches. We were attacking on the left lane and defending on the right. I started as Thermite on attack, helped open a crucial wall, and then immediately died to a clever flank. Instead of respawning as Thermite, I heard intense fighting on our defensive right lane. I respawned as Jäger, sprinted through the neutral zone, and dropped my ADS devices just in time to stop a barrage of grenades aimed at my defending teammates. That quick role switch and rotation saved the point. Later, we secured a hostage rescue in the neutral zone, granting us a damage boost that helped us finally crack the enemy's final HQ defense.
Dual Front is, without a doubt, the most dynamic and demanding mode Rainbow Six Siege X has ever offered. It rewards game sense, communication, and adaptability over everything else. It can feel overwhelming at first—trust me, I know the feeling—but once you get into the rhythm of managing two fronts, there's nothing else like it. So gather your squad, communicate like your life depends on it (because in Siege, it usually does), and dive into the chaos. It's a wild ride, and in my book, it's the best thing to happen to Siege in years. Now get out there and sabotage some HQs!